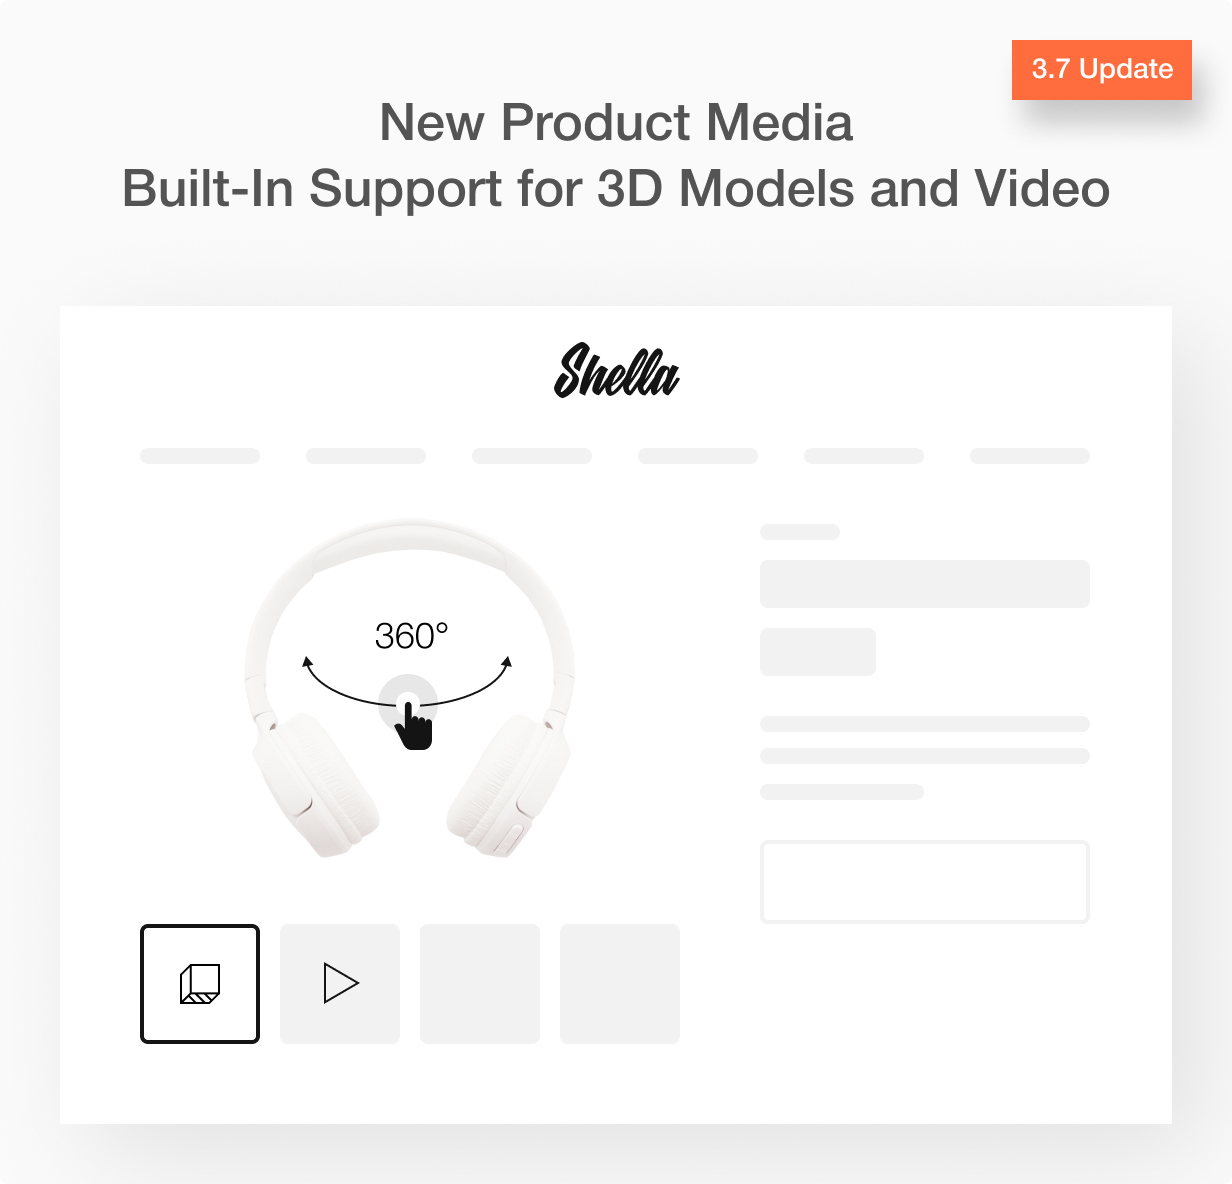
On March 14 the Shopify release a new feature – Built-In 3D Models and Video product media. This awesome and most wanted feature by the Shopify store owner. You can read more details about it at the original blog post – Bring Product Pages to Life with Built-In Support for 3D Models and Video
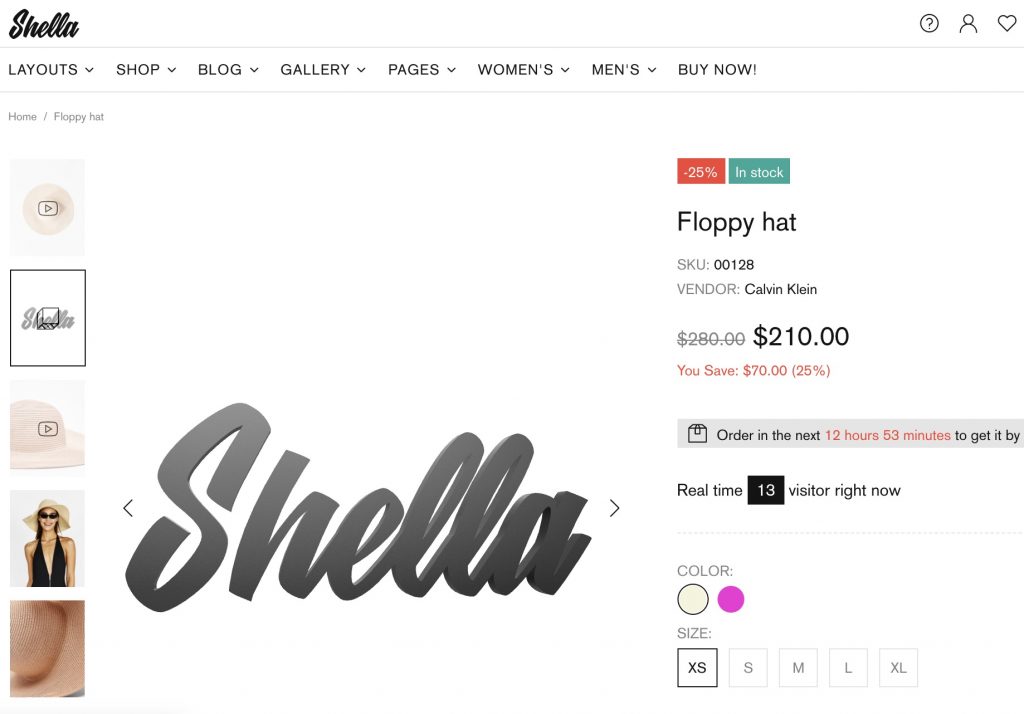
On March 25 our team released the Shella theme update version 3.7 with support of a new feature. You can review it at the product demo page with a 3D model, YouTube, and self-hosted video.
New product media @ Shella Shopify theme
This feature affects only the product edit page at Shopify admin panel and doesn’t require additional theme configuration.
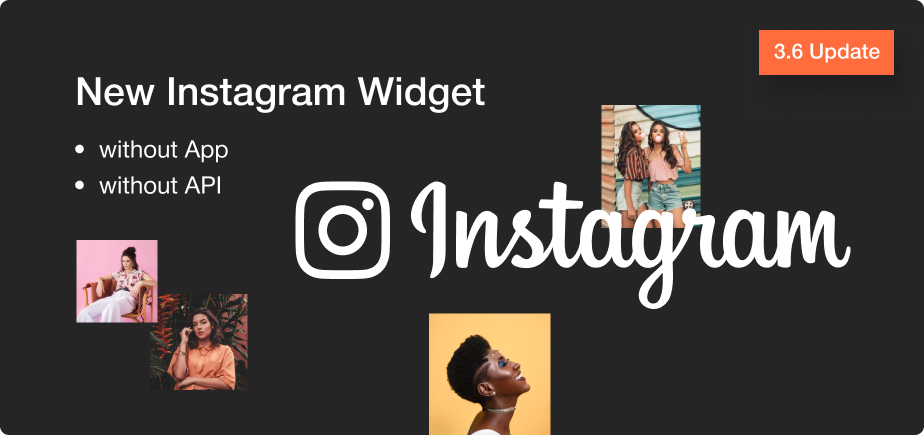
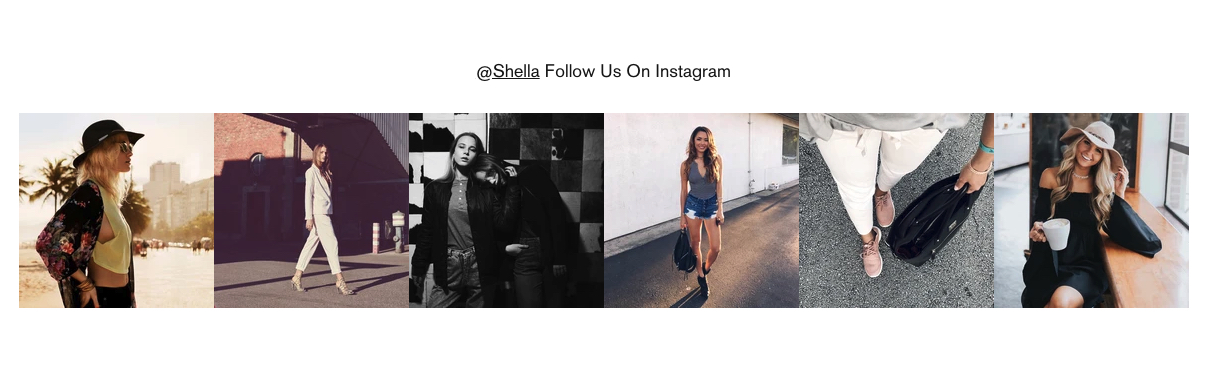
The latest Shella Shopify theme update, version 3.6.0, includes an updated block for the Instagram widget.
Now you do not need to add and configure the app at your Instagram account, generate the token. You can show the latest posts filtered by the account name or the hashtag.
Please note, filtering posts on Instagram by account name limits only for 12 posts.
If you want to filter by hashtags, the Shella theme will show posts from other accounts too. Not limited only to your account.
Add Instagram. Go to the builder section -> Add content -> Instagram.
Add an Instagram widget to the builder section.
Configure the Instagram widget
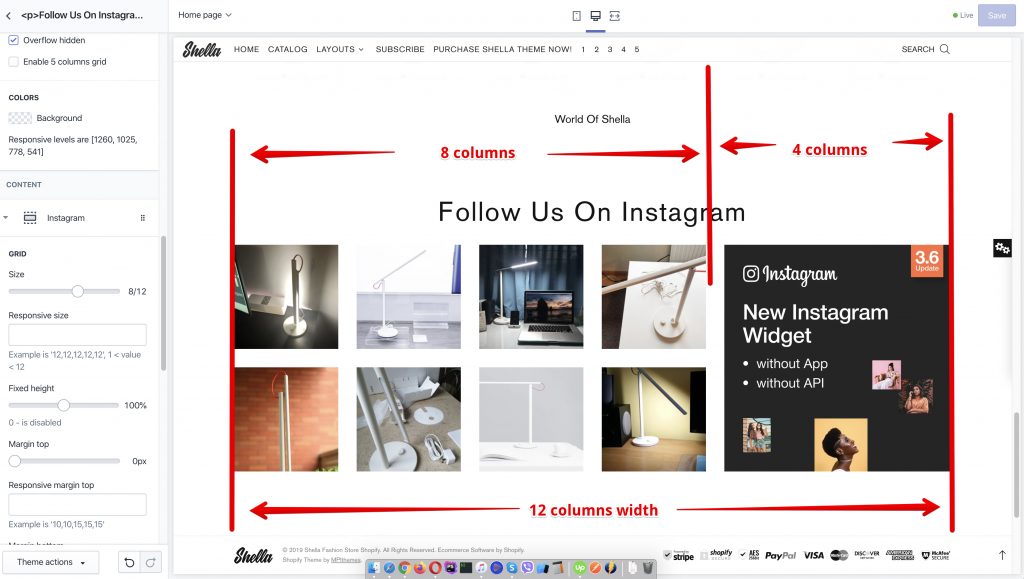
GRID – Size
You may set the width for the Instagram widget. In the example, I set the width to 8/12 (66.6%) for the Instagram feed and added an image banner with the 4/12 width (33.3%). The numbers 8 and 4 are the number of columns. Total builder width has 12 columns, I set 8 columns for the Instagram feed and I set 4 columns for the banner image.
Size option example
The usual value for this option is 12, which is equal to the full width of the builder section.
SETTINGS – User name
Set your Instagram user name. Please note, the theme will get only 12 images.
SETTINGS – Tag
Set hashtag to select posts for your Instagram widget.
SETTINGS – Show post details
Show the number of likes and comments on mouse hover.
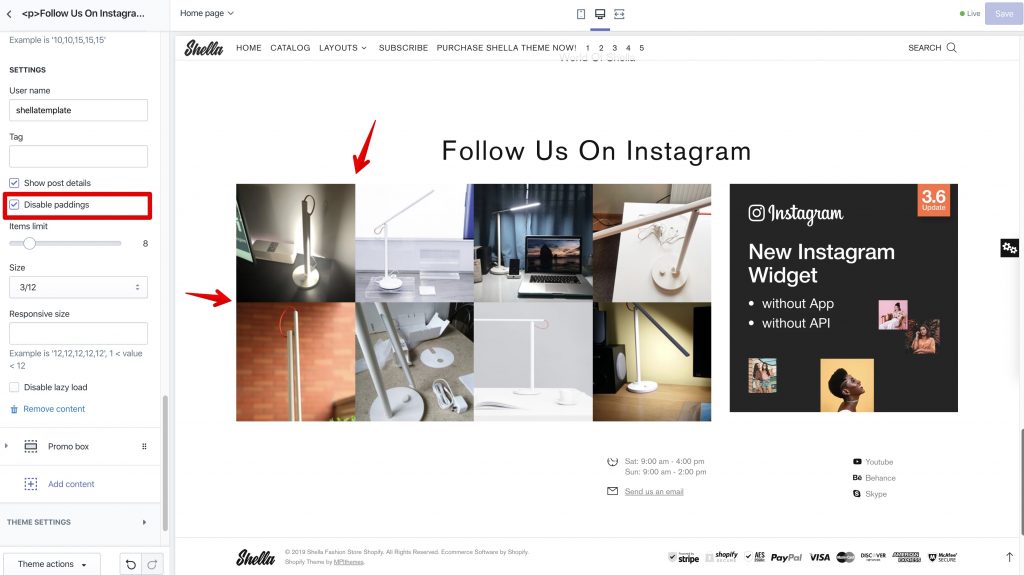
SETTINGS – Disable paddings
Disable paddings between Instagram images.
SETTINGS – Items limit
Set the number of images to show in the widget.
SETTINGS – Size
Set the width for each image within the Instagram widget.
Set the width of each image
If you have more questions about theme settings, please create a new ticket at our support system.
All Shopify apps should work with the Shella Shopify theme. If you have any questions about the app installation process or settings, please contact the app support. If the app support has questions about theme files they may contact us via email mpthemes@gmail.com
2/ Use static images.
You may upload the same images using the Builder section and the “Instagram block”.
Add Instagram block per each static image
3/ Use the latest theme version (added)
Check this blog post for more details about how to configure the new Instagram widget.
Check this video manual on how to update your theme to the latest version. Please note theme update procedure works best for updates within one branch. If you update from 3.1.0 to 3.6.0.
If you need to update from branch 2.x to version 3.x I recommend uploading the latest theme version and configure it from scratch.
If you have more questions about Shella theme settings, please create a new ticket at our support system
If you are an online merchant, then you must know what good a professional Shopify theme can do for your business. Shopify themes are loaded with a gamut of features meant to tailor your online store to your customers’ needs and preferences.
The Shella fashion theme is specifically designed for various kinds of merchants. Our featured Shopify theme for this piece is the Shella fashion theme for e-commerce stores. This super responsive theme is designed to attract the online shopper. Giving your online store a look that keeps new visitors scrolling to see more is one of the keys to creating an online business that thrives. Shoppers looking through fashion brands are heavily influenced by your store’s visual appeal. Shella’s premium Shopify theme for fashion stores comes with all the features you are used to from Theme Forest and others that make it even better. With it you can use fashion icons, banner builders, true collection filters and many more features to personalize your brand.
Header and footer for your site
If there is one thing you will never miss when using the Shella theme, it has to be options. The developers have included numerous options for headers and footers for you to choose from.
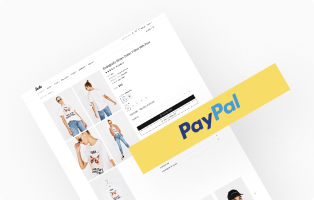
Smarter checkout buttons
Dynamic Checkout Buttons
Forget about the typical checkout button that takes you through a process before you can buy your merchandise; the checkout buttons for the Shella fashion theme are a bit different if you are buying a single product. Customers can easily proceed to checkout without having to use the cart for single purchases.
Build your own banners
Banner Builder
The banner builder gives you a chance to showcase your merchandise in whatever way you find suitable for your e-commerce site. There are six types of twelve column grids to choose from. With the Shella fashion theme, you have all you need to make the best first impression with captivating banners.
Smart features for a responsive UI
Shella has incorporated a number of handy elements that make it a pleasure to use. First off, the UI is fast and responsive with sophisticated design elements. On the merchant’s side, features such as the Section Builder and Slate make it exciting to tinker with the theme. You will also enjoy developer features such as:
Flexbox
Bootstrap 4.0
Design using BEM Methodology
SASS technology
One-click Demo support
Compatibility with a myriad of apps, including Oberlo
Innovative slider
Your visitors expect an experience that stands out from the competition and Shella will give you exactly that. The innovative slider comes with the theme and allows you to create captivating slideshows showcasing your wares or just general information about your business.
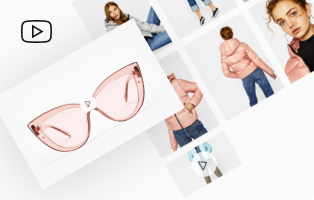
Product videos
Is there too much to read, too little to view on your site? Break the monotony by adding a YouTube video showing what you have to offer. Adding a video is simple really, what with the built-in ease of use. You should be broadcasting in a few clicks.
Optimize your site for SEO
A lot has been said about SEO and how it is not effective anymore but as an online merchant, you know you can’t do without it. Shella gives you the tools to optimize for your niche so that you can attract more customers that will actually turn into conversions. The Google Rich snippet tool applied here optimizes your site. Shella theme tested by MOZ SEO tool to ensure you get it right.
Get the best RTL support
Nothing is more irksome to a client than a site that has what they are looking for but is unreadable. Get access to all the RTL writing systems widely used across the globe including Persian, Arabic, Urdu and Hebrew when you use the Shella theme.
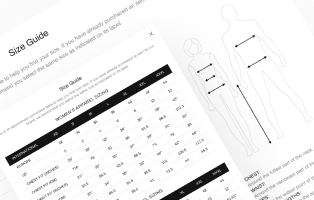
Size guide pop-up and page
Customers shopping for clothes and shoes often want to find out their size before making the purchase. That’s easy to do when you are using the Shella theme because you can add the pop-up page that leads you to the size guide page.
Get all the customer support you need
Even with the best theme for your online shop, there’s very little you can do if you don’t have an expert to guide you. The team of developers is always on call to answer you queries and guide you through the theme.
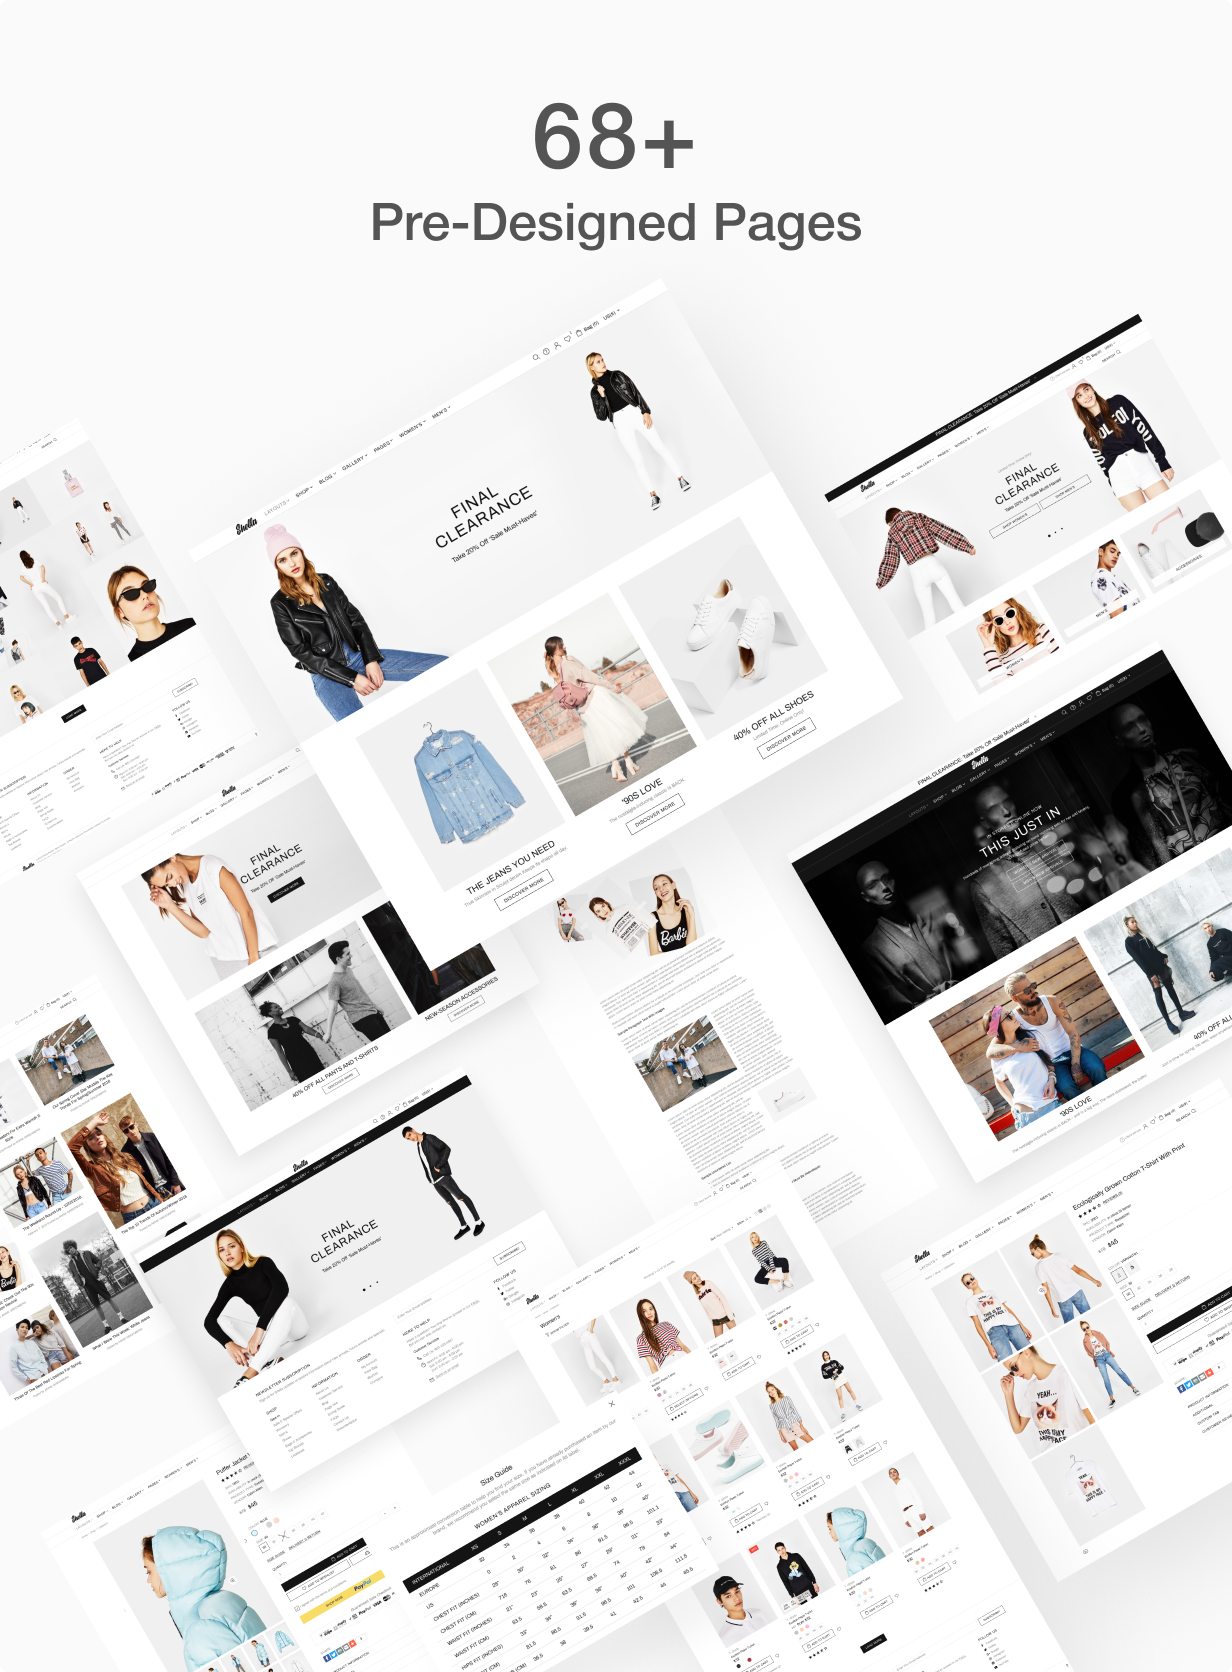
With endless colors and over 68 pre-designed pages, it’s not hard to see why the Shella theme would be your choice. Have fun choosing from tons of homepage templates with all the characteristics you hope developers would think about.
My primary objective is designing awesome eCommerce themes. I started about ten years ago with osCommerce. I have created themes for various eCommerce platforms like OpenCart, CS-Cart, Magento, PrestaShop, 3dcart, BigCommerce and of course Shopify. As for me, Shopify is the best eCommerce software for front-end developer.
Firstly, Shopify has ThemeKit and Slate tools which make the development process very easy. Just like HTML/CSS/JS projects.
Second, is Shopify’s platform. It provides a simple and powerful engine with the ability to extend its functionality. API for app developers, JS libs for front-end developers, new feature front-end API and GraphQL.
Shopify has been adding new features based on DOM elements via JS. They are amazing and super flexible.
However, some disadvantages do exist. If you want to create exact same store for testing or to install the same demo data on a client’s store, there is no easy solution. You should copy and paste multiple objects from one store to another. It’s very annoying and a time consuming task. You can spend hours to replicate a store.
Now for example, if my theme includes fifteen predefined layouts, multiple variants and a couple hundred of customers. It’s a nightmare to configure pre-build layouts for each customer. These same customers may also to switch from one layout to another. Aaaaah! 🙂
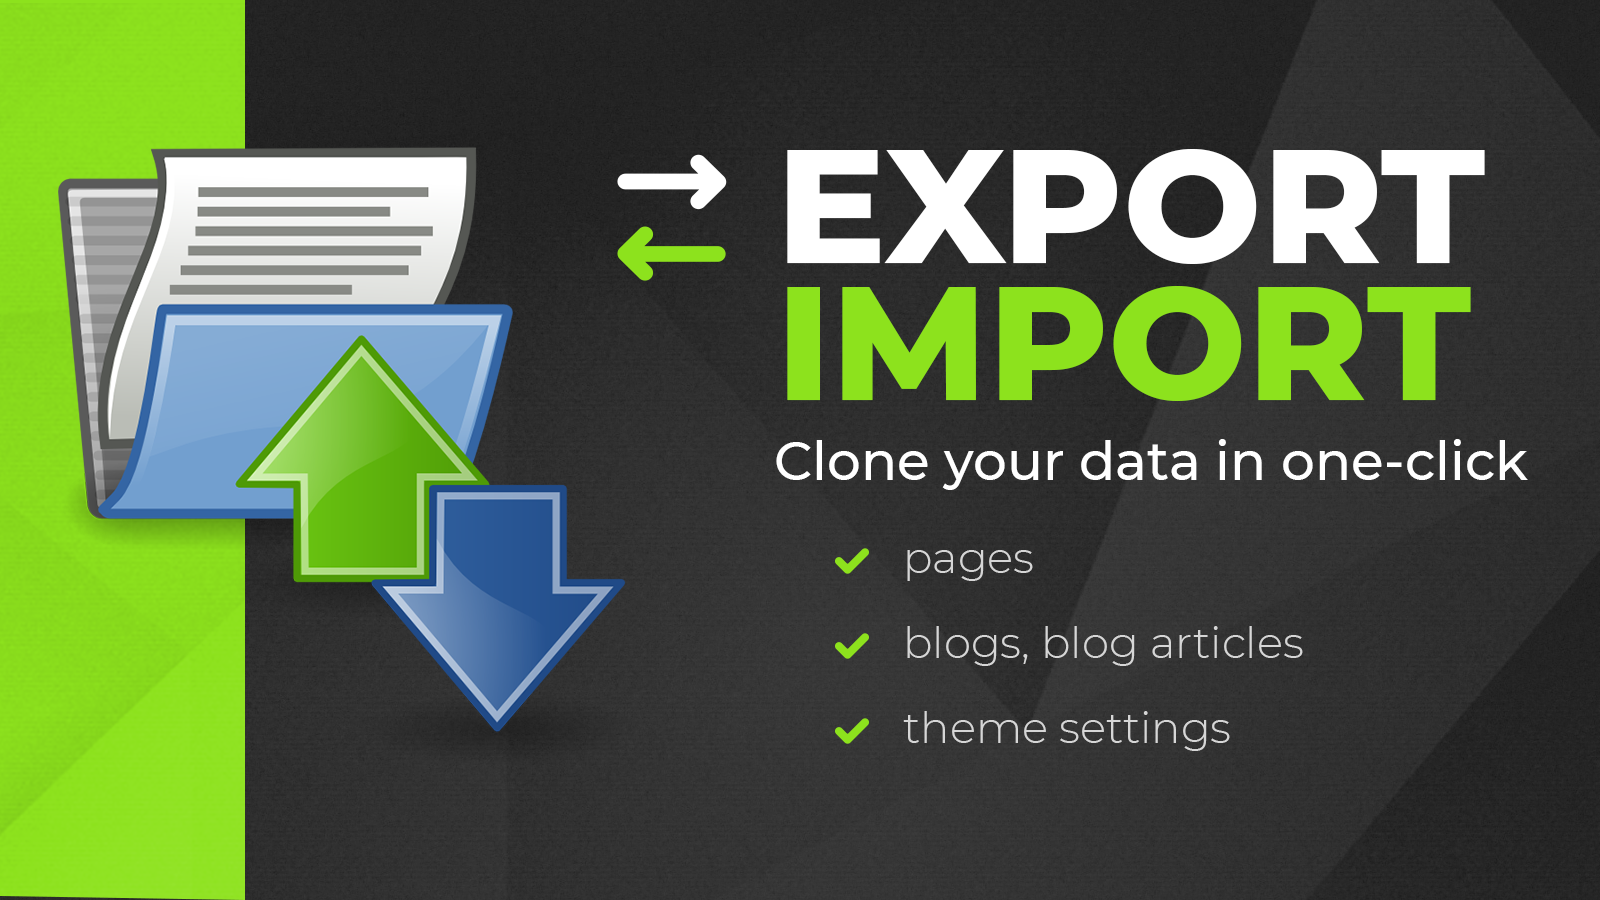
To simplify these tasks I create ExIm export/import Shopify app. It includes an export /import feature for pages, blogs, and theme settings. Now I can simply export data from my demo stores and provide it to my customers. Customers may simply change from one pre-build theme config to another, in just a few clicks.
Another bonus is that ExIm is a free app. No one-time payments, no trial period, no limitations, it’s free for life.
Please enjoy my app and feel free to send me any feedback.
When you what to start and an run online business, Shopify software is a good option. How do you start a Shopify store?
The most popular way – sign up for a trial account. You can find more info about Shopify trial accounts here – Free trial. It’s a great opportunity to test out the Shopify software, become familiar with the admin interface, learn how to add and manage products, create collections, explore the navigation, and sort through different themes and apps. The main disadvantage is that the trial period is limited to 14 days. If this is your first Shopify store you may need more time to learn the Shopify admin, test everything, improve your theme or to find the needed app. Want to extend the Shopify store trial period? The next solution will answer this question.
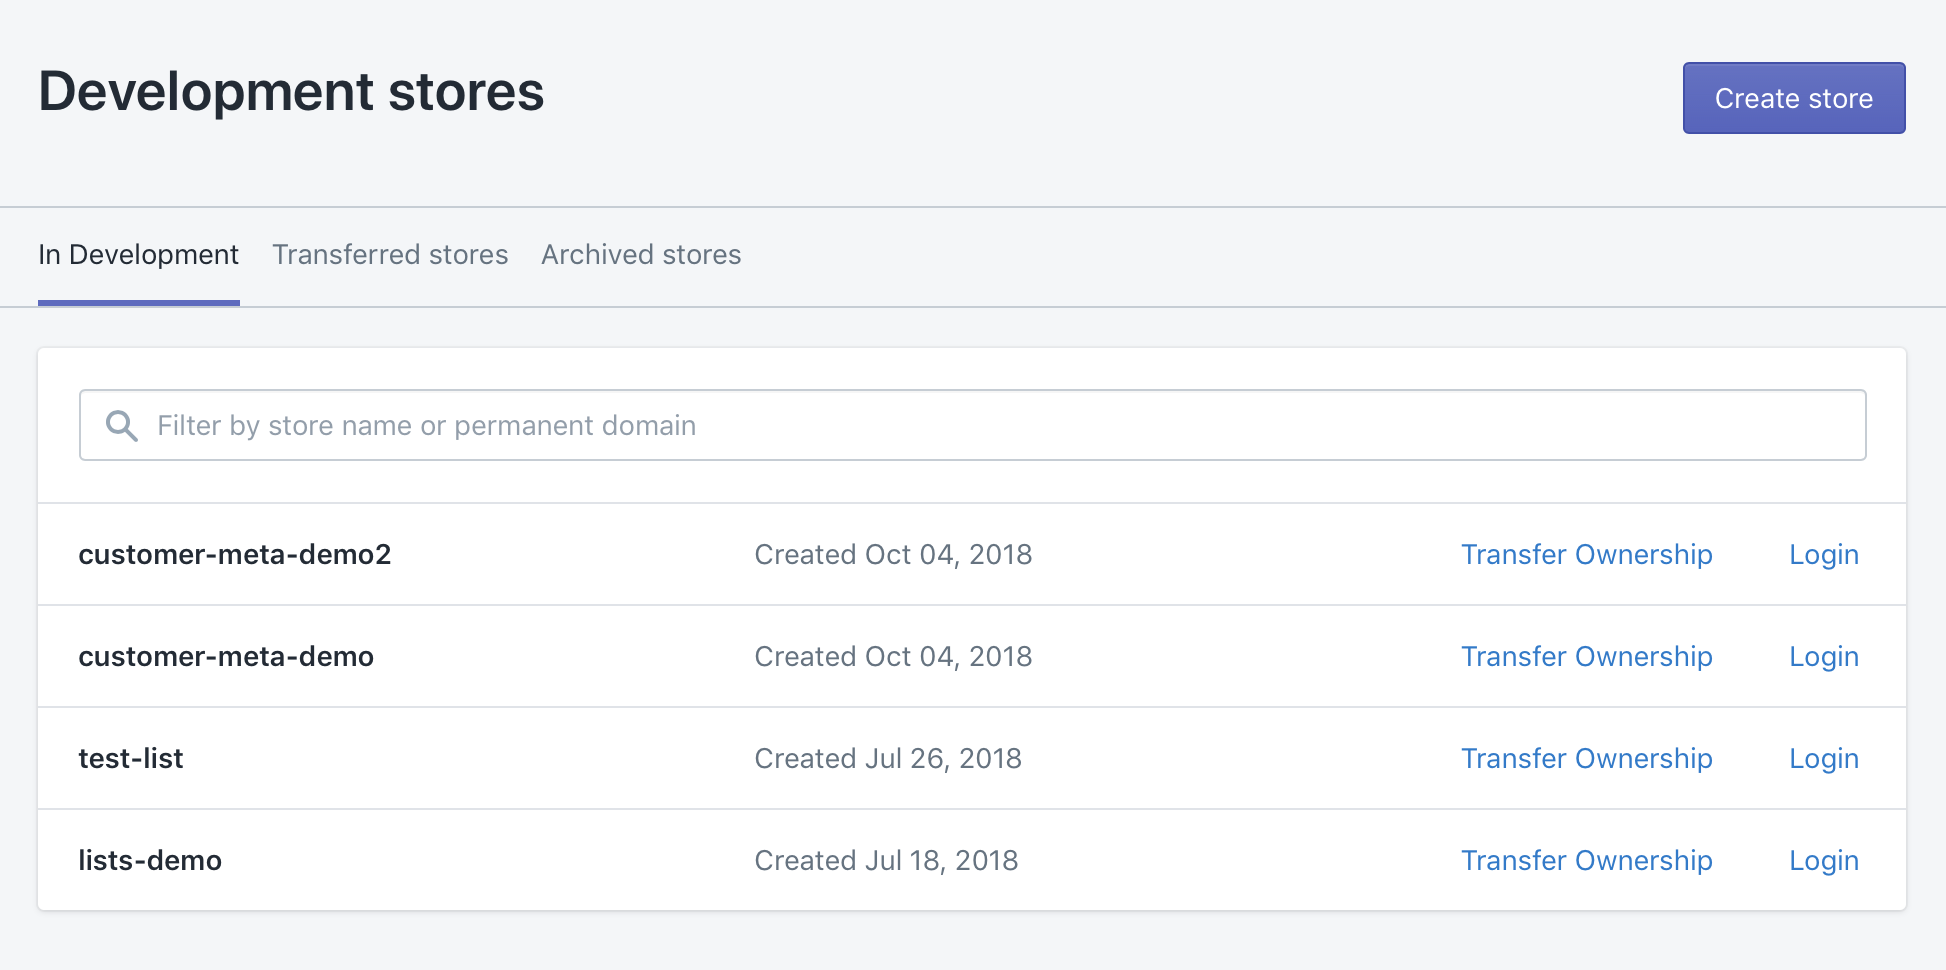
Another way to start a Shopify store – find a Shopify expert or Shopify partner. Ask them to create a developer store for you. As for MPIthemes, we are a Shopify partner and can create as many developer stores as you need.
What is a Shopify developer store? It’s the same store as the trial account, without the 14 day limitation. You can work on your store for three weeks, a month, or even more with no need to switch to a paid account. Switch your store to a paid Shopify plan whenever you are ready, not just because the trial time period has expired. Read more about developer stores here – Everything You Need to Know About Development Stores
With a Shopify development store, you do have to perform one more additional step, (Find a Shopify partner to start a development store for you), but you get an unlimited trial period for your Shopify store. It’s up to you on what suites you best.
Drop me a message if you need a developer store. I will create it for free and transfer ownership to you when the store is ready to go live. You can also contact me by email at mpthemes@gmail.com
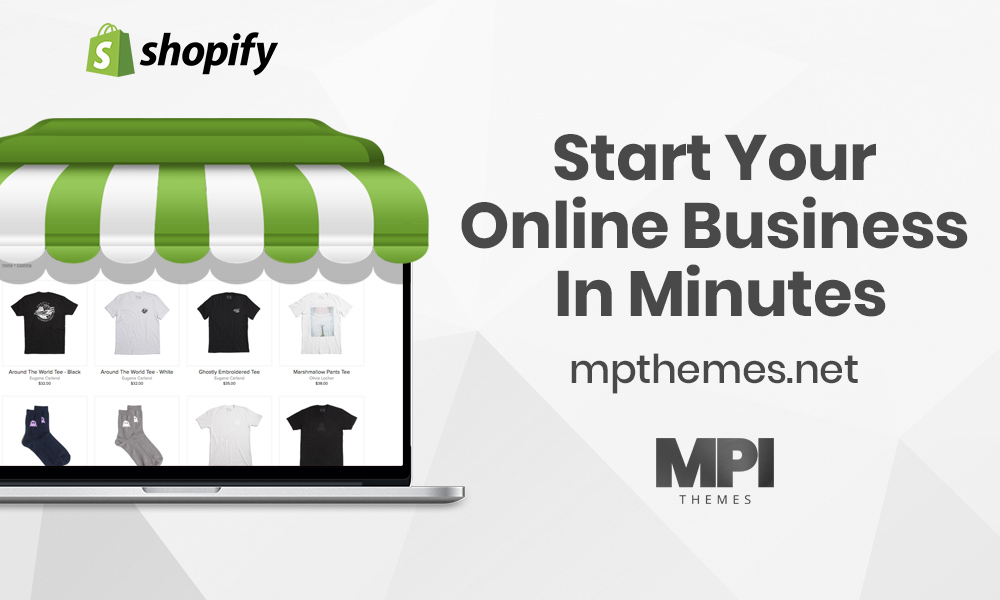
Do you want to earn revenue through an eCommerce store? Shopify is an online platform that helps you to run a business and create income sooner than you think. Here you can sell everything including: physical products, clothes, accessories, furniture, software applications, and educational courses. Just about anything can be handled and traded here.
There are many ways to start your store with Shopify. Allow me to walk you through some of the easiest ways to create an online store.
1/ A perfect name
A name is an identity. A unique name does much to attract prospects and increase your sales volume. When a buyer is attracted by the name, he’ll likely buy more from your store. But as you seek to make it unique, don’t forget to keep the name simple and classy. You can also use some online business name generating apps to get an appropriate one.
2/ Registration
Registration is a must! Without registering your store, you won’t be able to earn or even sign up. It’s so simple that after a few clicks you become the full operator of your own store. Visit Shopify.com, and click “Get started”. Then, enter your email, password, store name, and click “Create your store” and voila!
3/ Theme
A theme is first impression a customer gets when they click on the online store. Therefore, try to put up a simple but creative and soft theme. Some recommended themes include Simple, New Standard etc. Once you have got your desired theme, you will click on the “Start with this theme” to get started but if in case you change your mind then go to Online Store → Themes → Customize Theme. All the relevant themes are placed at the sidebars so if you ever get a feeling to change, you are free to do so.
There are two great places where you can find awesome Shopify themes.
The logo is one of the most important things to be added to your online store. However, be very careful when choosing it because it reflects your brand. If you don’t possess enough skills on creating one, then visit Shopify Logo-Maker (or logo maker app for Android) and test out some designs until you get a matching one.
5/ Standard pages
Content gives information so without content, a store can’t succeed. Once you are done creating pages, add relevant content on each and every one of them.
Some of the pages include;
About Us,
Terms & Conditions,
Privacy & Returns Policy,
Shipping & Delivery,
Information,
and Contact Us.
To create a page you simply need to visit → Online Store → Pages → Add Page.
6/ Adding a gateway for payment
Buyers will have to pay online through debit or credit card. These types of payments are known as Shopify Payments.
7/ Adjusting Settings for shipping
Most online stores offer free shipping within the country but when it involves an overseas transaction, the shipping rate is higher. However, for now, it would be better to add a free shipping option but you can change it anytime by Visiting Settings → Shipping.
8/ Billing Information
Before making payments through your online store you’ll need to go on the free trial of 14 days. Before you do anything just visit Navigate to Settings → Account and enter your billing information as soon as possible. And just like that, your store is ready
Remember….
You can easily start your online business through the easy steps mentioned above but if you still need some motivation or more info regarding the topic then how about you visit my website at https://mpthemes.net/.
Bonus from me
Use my partner link and get 1 hour of customization service for free (30 usd value)